Importing data into multi-select option sets in Microsoft Dynamics CRM can be challenging when using the standard data import functionality. The step-by-step guide below will help you successfully import data using the Excel Online out-of-the-box (OOB) functionality while avoiding common issues
Why Use a Template for Data Import?
Multi-select option sets allow you to assign multiple values to a single field in CRM. However, this flexibility comes with a challenge: ensuring data consistency during imports. Using a predefined blank template ensures the proper structure and formatting of your data.
Step 1: Use the Blank View Template
To make importing data simpler, you could create a special blank view template designed for data import. Here’s what you need to know:
- What Is the Blank View?
This CRM view is a predefined structure with all the necessary columns for data import, but no data filled in. - Why Keep It Blank?
It’s good to leave this view empty so it serves as a clean template. If populated, it may display existing data, defeating its purpose.
Step 2: Export the Template
- Open the blank view in MS CRM.
- Export the view to Excel. This exported file becomes your working template for data import.
💡 Tip: Always double-check that the view is blank before exporting it.
Step 3: Fill in the Template
Once you have the template:
- Open the exported Excel file on your computer.
- Carefully enter the data you wish to import, ensuring all fields match the required format.
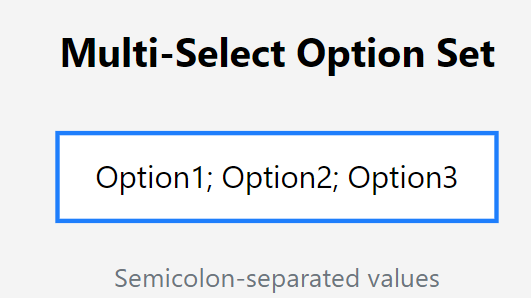
- For multi-select option sets, separate multiple values with a semicolon (;). For example:
Option1; Option2; Option3✅ Pro Tip: Accuracy is key. Mistakes in formatting may cause import errors.

Step 4: Open Excel Online in CRM
Back in CRM, follow these steps:
- Navigate to the same blank view you used earlier.
- Click the three dots (···) in the toolbar, then select Open in Excel Online.
This will allow you to edit the data directly in the CRM environment.
Step 5: Copy and Paste Your Data
- Open your completed Excel template.
- Copy the filled data from your file.
- Paste it into the Excel Online sheet opened from CRM.
⚠️ Important: Use a semicolon (;) as the separator for multi-select option sets. If any other delimiter is used, the import process will fail.
Step 6: Save and Track Progress
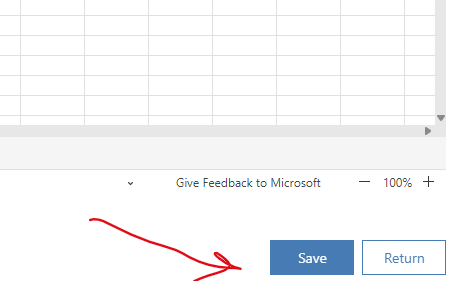
- Once the data is pasted, save your changes in Excel Online.
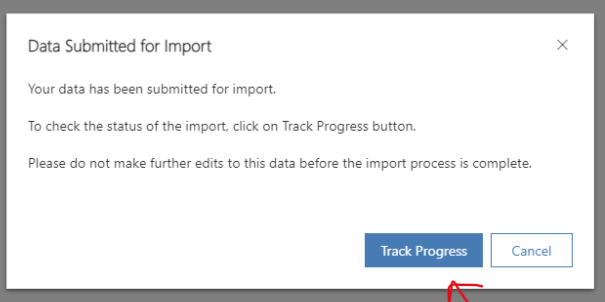
- The CRM system will automatically start the import process.
- Track the import progress directly in CRM by navigating to the Imports section.


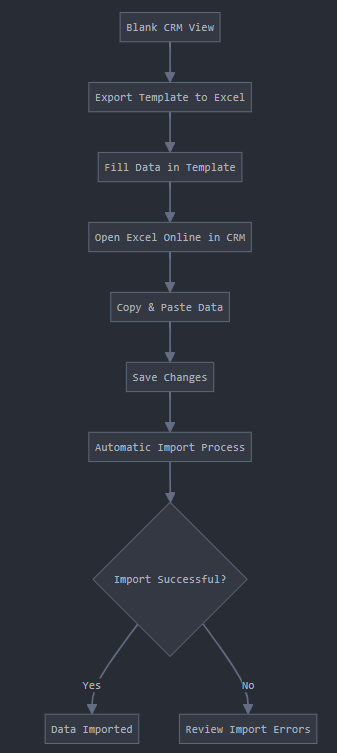
Import Process
Flowchart to visualize the entire import workflow:

Benefits of This Approach
- Consistency: Using a blank template ensures that all required columns are present and properly formatted.
- Accuracy: Direct edits in Excel Online minimize errors during upload.
- Efficiency: Tracking progress in CRM helps identify and resolve issues quickly.
Always remember to use semicolons for separating values, double-check your formatting, and save your work frequently to ensure a smooth import experience.
Happy importing! 🚀
No comments:
Post a Comment